Respirator Training, Cleaning, and Storage Instructions
Training
Training must be clear and comprehensive, covering at least the following points:
- Importance of Use: Why the respirator must be used.
- Capabilities: What the respirator can and cannot do to protect the individual.
- Proper Usage: How to properly inspect, put on, take off, and use the respirator.
- Seal Check: How to check the seal of the respirator.
- Emergency Situations: How to use the respirator effectively in emergencies, including malfunctions.
- Medical Awareness: How to recognize medical signs or symptoms that may limit or prevent respirator use.
- Fit and Maintenance: How improper fit, usage, or maintenance can reduce protection.
- Maintenance and Storage: Procedures for maintaining and storing the respirator.
- Regulations: Requirements for Worker Protection Standard (WPS) and/or Occupational Safety and Health Administration (OSHA), as applicable.
Cleaning Instructions

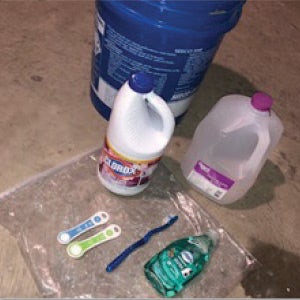
Step 1: Gather Supplies
- 5 Gallon Bucket
- Soft Bristle Brush
- Mild Detergent
- 1 Gallon of Water
- 3/4 tsp. of Bleach (Example: ½ tsp + ¼ tsp = ¾ tsp)

Step 2: Remove Filters
Remove filters, cartridges, or canisters and place them in a plastic bag.
These items are not to be washed.

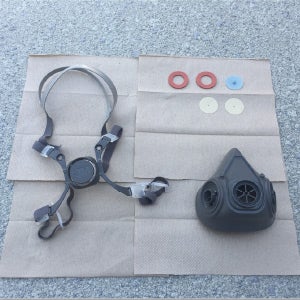
Step 3: Disassemble Facepiece
Remove speaking diaphragms, demand and pressure-demand valve assemblies, hoses, or any other components as recommended by the manufacturer. Discard or repair any defective parts.

Step 4: Wash Components
Wash the components in warm water (110°F/43°C) with a mild detergent or a manufacturer-recommended cleaner. Use a soft bristle brush to remove dirt.

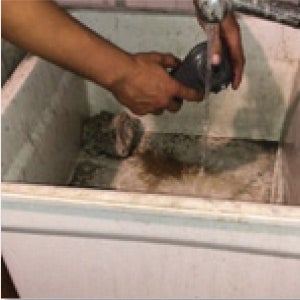
Step 5: Rinse Thoroughly
Rinse the components thoroughly in clean, warm water (110°F/43°C), preferably running water. Drain the water well.

Step 6: Disinfect
Prepare a bleach solution with 3/4 tsp. bleach and 1 gallon of water. Immerse the respirator in the bleach solution or a manufacturer-approved disinfecting solution for 2 minutes.

Step 7: Rinse Again
Rinse the components thoroughly again in clean, warm water (110°F/43°C), preferably running water. Drain. Thorough rinsing is crucial.

Step 8: Dry Components
Hand-dry the components with a clean, lint-free cloth or allow them to air-dry.

Step 9: Reassemble Facepiece
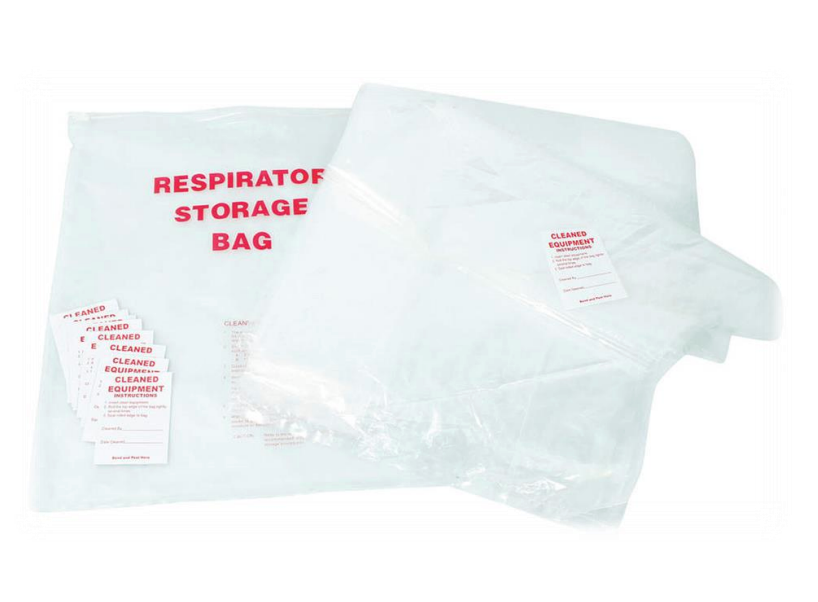
Reassemble the facepiece, replacing filters, cartridges, and canisters where necessary. Store each part in separate bags. Avoid storing in extreme heat or direct sunlight.

Step 10: Final Assembly and Testing
Reassemble the respirator completely and test to ensure it is working properly.
Storage Instructions
- Airtight Storage: Store the clean respirator in an airtight bag or container. Ensure the respirator is dry before storing.
- Separate Storage: Store cartridges separately to avoid contaminating the clean respirator.
- Environmental Conditions: Keep both respirator and cartridges away from sunlight, moisture, extreme cold, extreme heat, and dust.
- Avoid Tool Boxes: Do not store respirators in tool boxes.
- Shape Care: Take special care with particulate (N95) respirators to avoid damaging their shape.
For more information, contact:
(252) 744-1008 • ncagromedicine.org

